Today, we are looking at a nifty feature in PowerPoint called 3D Models. This feature allows users to add a 3D object to PowerPoint presentations. Now you might be thinking, I have no experience creating 3D objects or using 3D files (often known as obj files). Fear not! Microsoft has built in a catalog of free objects for you to use.
Please Note: this feature is only available for Microsoft 365 subscribers
Inserting and Customizing Your 3D Model
Let me show you how this feature works.
- Start by opening PowerPoint.
- As is often the case in PowerPoint, there are multiple ways to access 3D models.
- On a new slide under the text box options you will see the option to add 3D models.
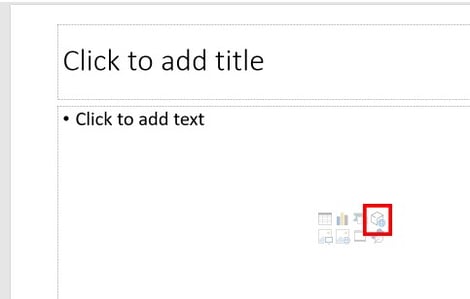
- You can also click on the Insert tab in the main navigation ribbon and select 3D Models there.
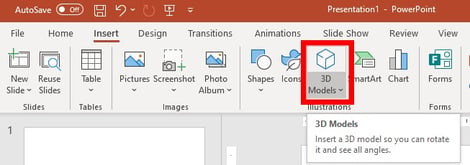
If you use the Insert tab option, you will have the option to upload your own 3D Model. More instructions on that can be found here.
- On a new slide under the text box options you will see the option to add 3D models.
- On the next screen, you will see a library of stock 3D models.
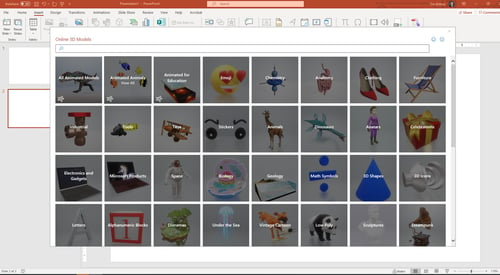
- Select the desired category to see all the options within it.
- Some models have animations. A little icon that with a running man is located in the bottom left corner for models with an animation.
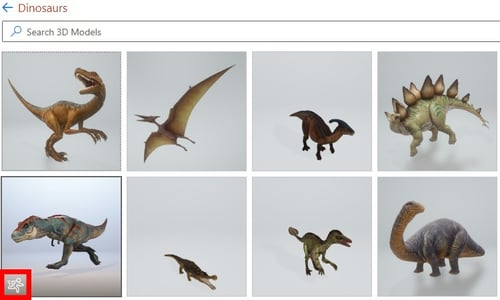
- Some models have animations. A little icon that with a running man is located in the bottom left corner for models with an animation.
- When you have chosen the 3D Model you wish to add, use the Insert button at the bottom right corner to add it to your slide, or just double click on the desired model. If you wish to add multiple models at once, select any group of models you want to add to your slide.
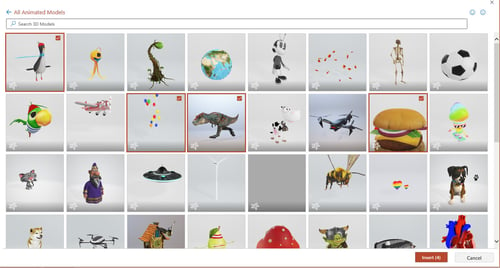
- Once your Model had been inserted you will find a wide array of options to customize it for your unique needs.
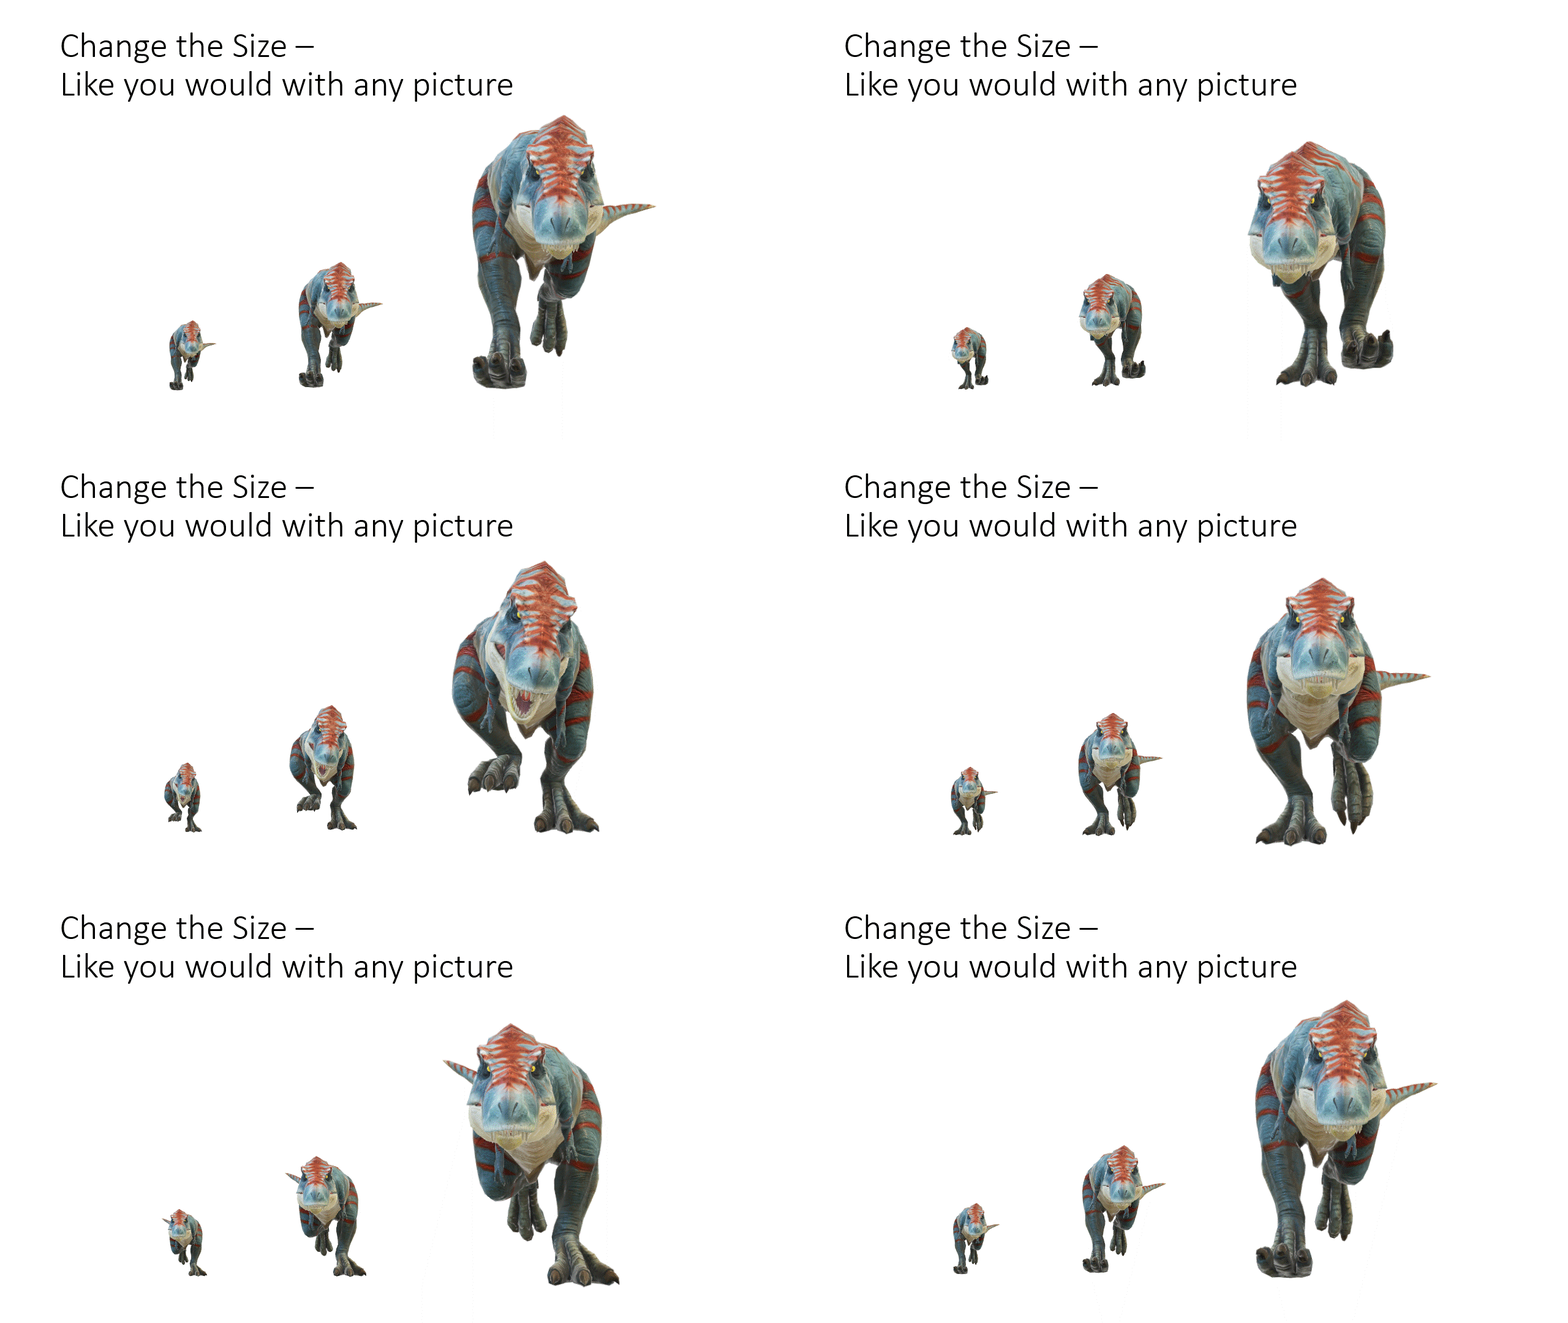
- You can resize any 3D model the same way you would with a picture.
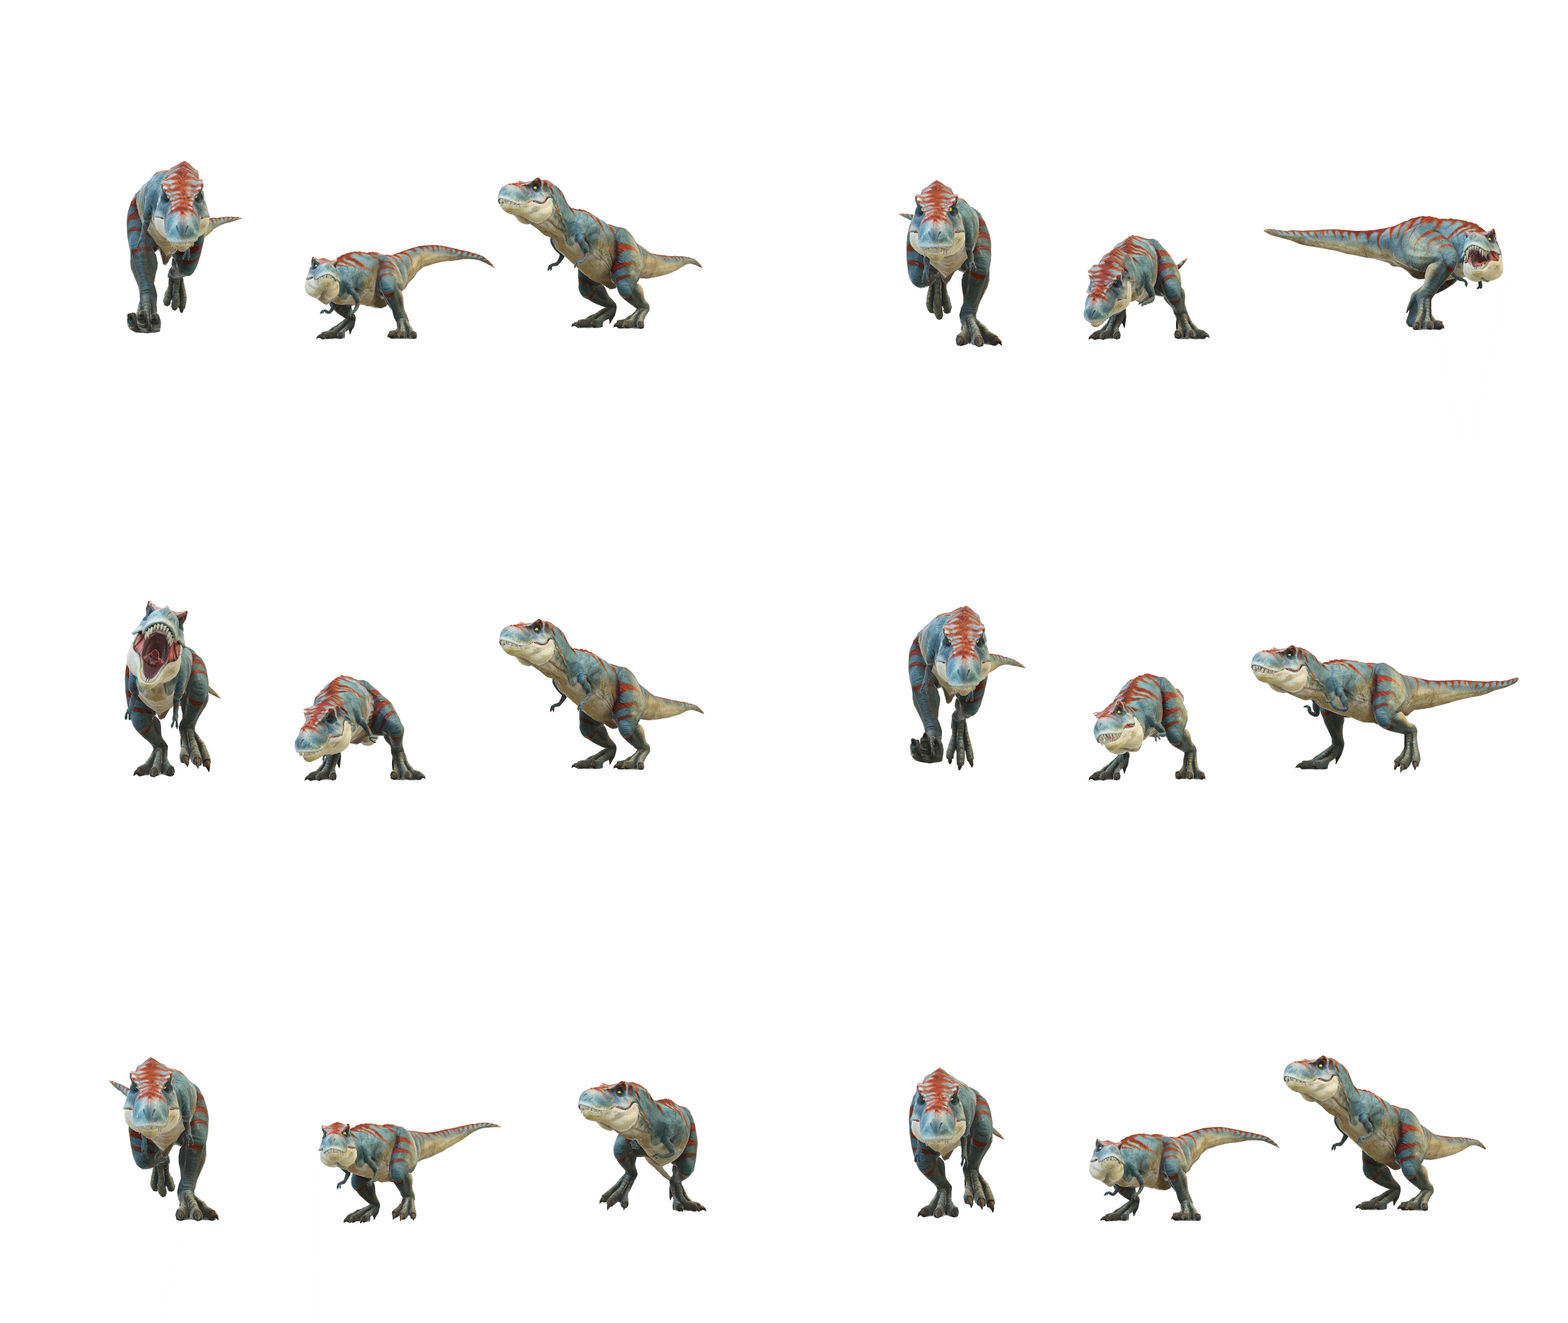
- Want a different angle of your 3D model? Select your object and click on 3D Model in the navigation ribbon to choose from a wide variety of options

Here are some examples of the same dinosaur model but at different angles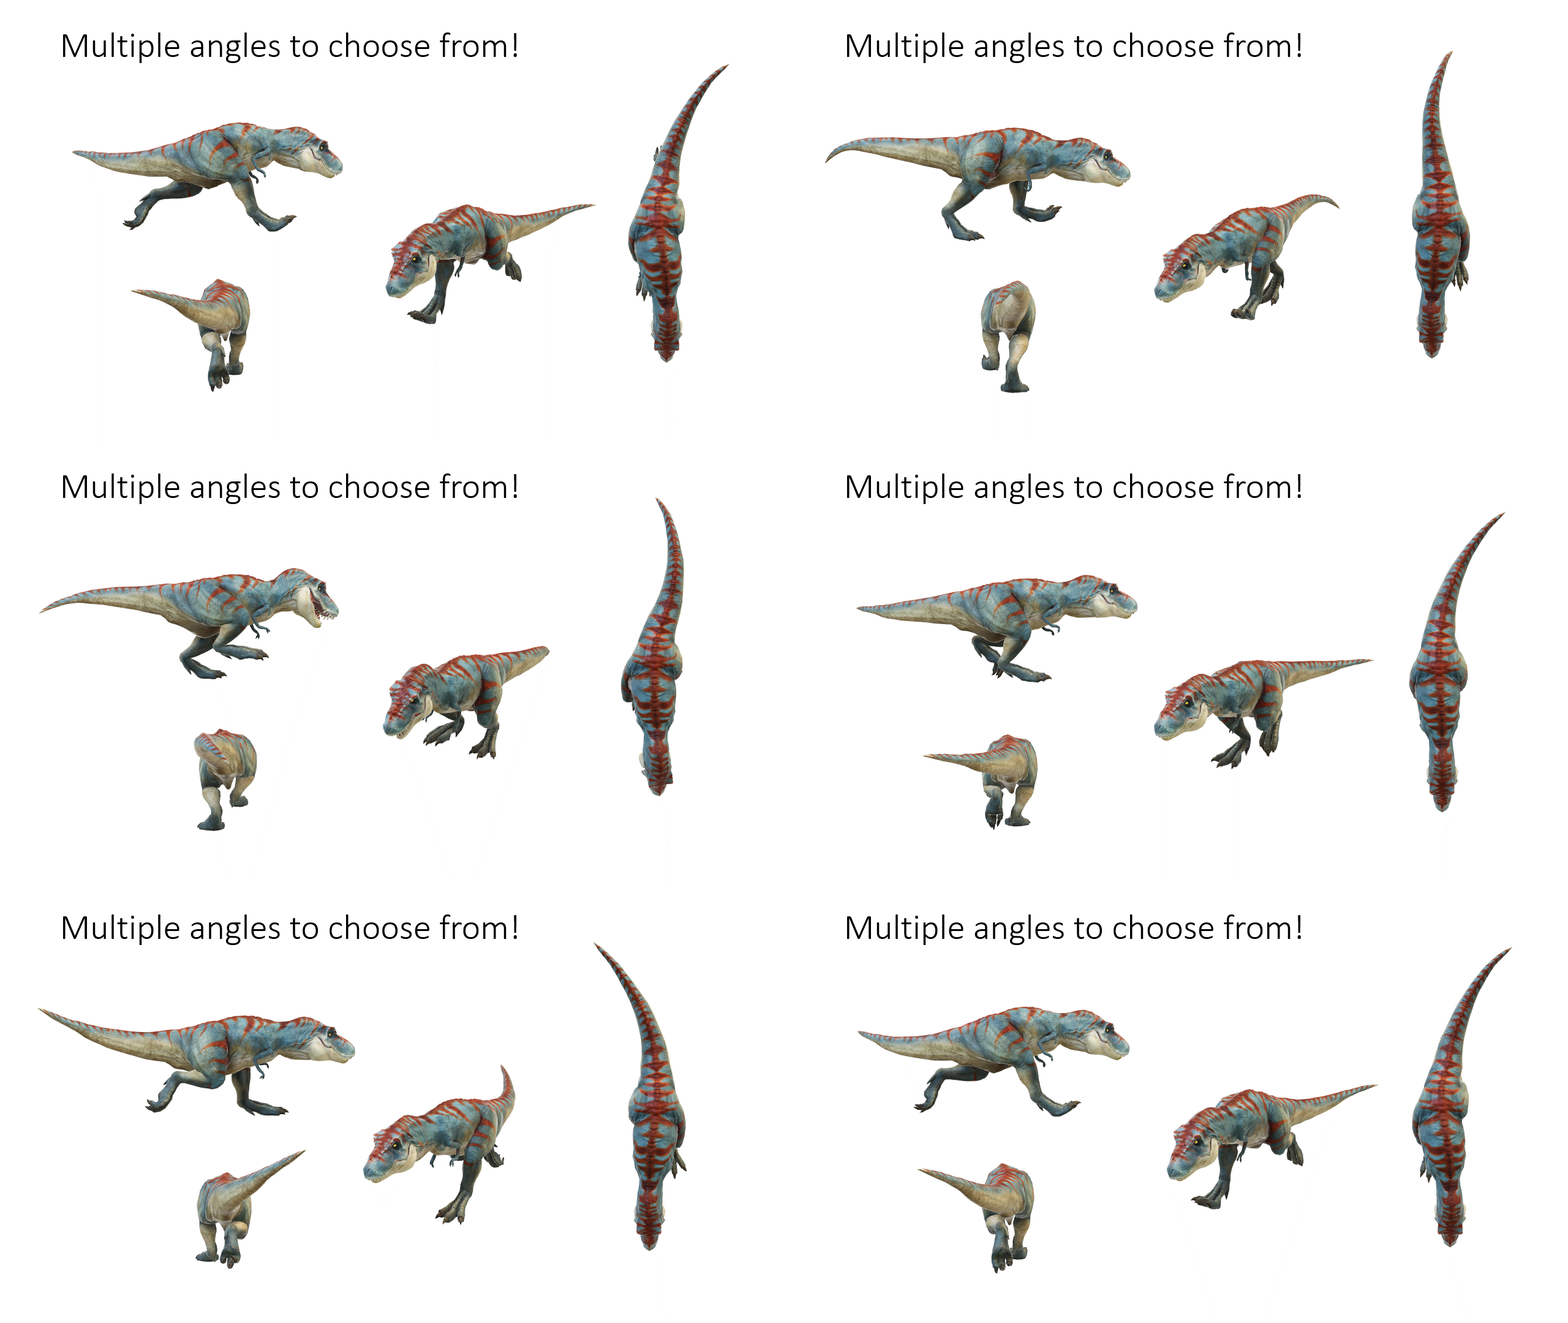
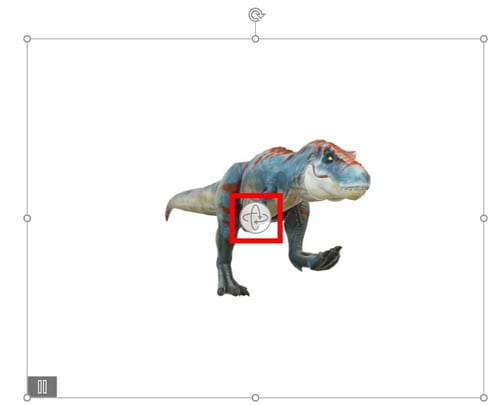
- You can rotate the 3D model to any angle you want by selecting your 3D model and hovering over the Center icon. Then click and drag while holding your cursor to freely manipulate the object to the desired angle and release when finished.
- You can resize any 3D model the same way you would with a picture.
Animating Your Model
Several 3D models have animations built in. To access them click on your model and navigate to the 3D Model tab on the navigation ribbon. On the top left under the Scenes dropdown, you will see several options. Each scene you click will change the animation currently displayed on your 3D model.
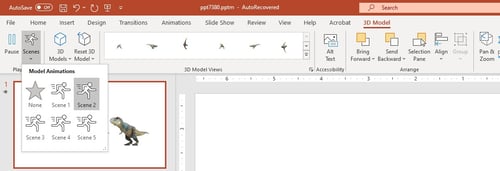
As you can see below, changing the scene gives you additional options for how your model moves.
You can use animations in conjunction with your 3D Model to really make your object come to life. More details on how to use animations in PowerPoint can be found here.
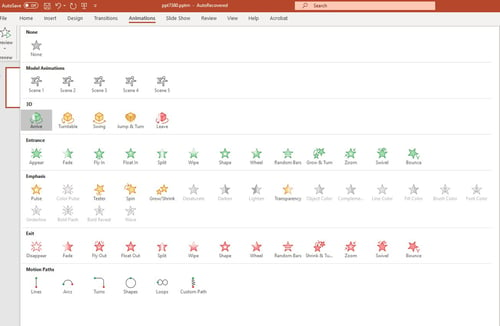
Currently, only a few types of animations work well with animated 3D models. I would recommend only using the Model Animations (another place to find the scenes), 3D, and Motion Paths options from your main animations list (pictured below).
As an example, I used Motion Paths to make the dinosaur run across the screen.

You can learn more about Motion Paths and how to use them in PowerPoint in my recent blog on that topic.
Inserting Custom 3D objects
If you have an obj file or other 3D model to import, you can add them by going to the insert tab and choosing This Device under the 3D models option.

For this blog. I created a 3D version of the Innovia logo to insert in PowerPoint.
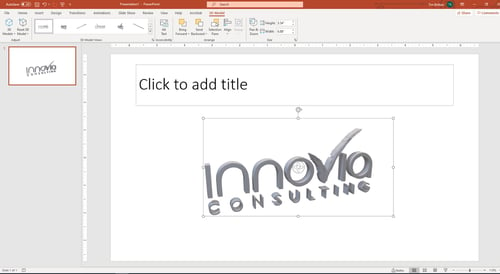
You have the same options to resize, rotate, and animate as you do with the stock 3D models.
But Wait, There’s More!
Not only are 3D models available in PowerPoint but you can also find them in other Microsoft 365 applications such as Word and Excel. The functionality is mostly the same between each Office application, so you can apply what you learned in this blog to these other applications.
Hopefully that has inspired you to find new ways to enhance your PowerPoints with this feature. If you have questions about how to use 3D models in any of the Office applications, please drop us an email info@innovia.com.
Happy PowerPointing!


